Materials: (you may need to adjust amounts if you make this in a different size)
- 1/3 yard fabric for body
- 1/4 yard fabric for yoke
- 24" of 1/4" elastic
- 3 snaps (sew on or hammer on)
1. Sew the yoke together along the neckline (the narrow part!). Press the edges inward.
It will look a little like this.....
2. Fold the yoke in half wrong sides together and then topstitch along the edges and across the neckline. Make sure you leave some space along the neckline for your drawstring and leave the bottom open. (NOTE: I did not choose to put the strap through the drawstring opening at the neckline. I attached two strap at each shoulder and then at the top of the back piece. You can tweak this pattern however you wish.)
3. Gather the top of the front bottom piece so that it matches up with your yoke. (Never gathered? It's easy- just put in a row of basting stitches and then pull on the loose string ends and the fabric will gather right up).
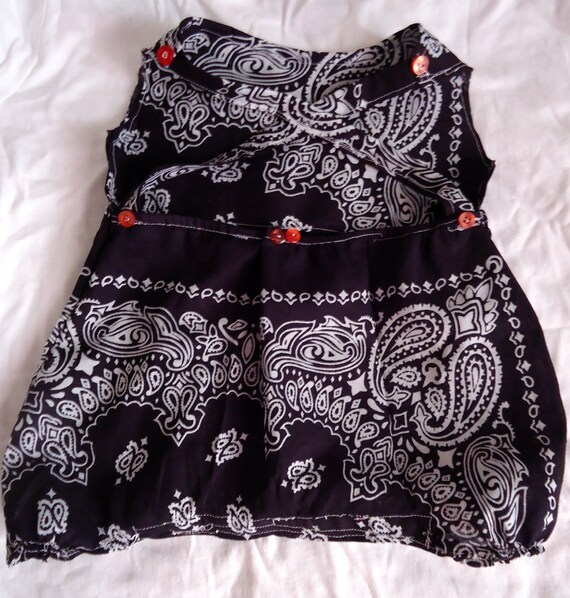
4. Pin the yoke to the bottom front piece right sides together. Make sure you only pin the outer half of the yoke- not the liner. Stitch it down making sure to not catch the liner. You should have your romper looking like this by now:
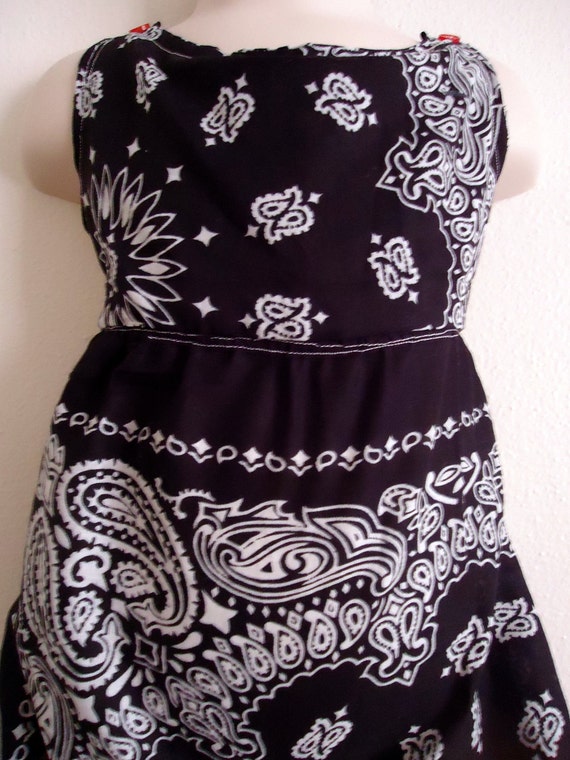
5.Measure your baby (or in my case, my mannequin!) around the chest and measure the front half of the romper. Cut your elastic piece so that it's length + the front half of the romper will fit around your baby. Fold the top of the romper over to the backside and stitch the elastic right on top with a zig zag stitch. The fabric will gather as you go. Make sure you stretch the elastic all the way to the end- you may want to tack it in place or pin it down before you start. The elastic will cover up the raw edge of your romper and do all of the gathering for you.
6.Pin your romper front and back pieces right sides together and stitch up the sides.
7. To finish the edges in the front fold the bottom edge of the yoke lining up and in so that it covers the edge of your gathered piece. Now flip it over and topstitch along the bottom edge of the yoke.
8. At this point you may want to try it on. Measure around your baby's neck and down the back of the romper to see how long to make your strap. Mine is 10" each strap. Make sure you leave some extra room for the strap to make a little "x" in the back.(DON'T sew down that "X"! The romper will not fit over your baby's head then!)
9. Cut out matching fabric strips of 3 inch wide by however long you need the strap(s). The length depends on your baby's measurement you took in step 8. It also depends on whether you chose to make a drawstring neckline or have two straps like mine.) Fold it in half right sidestogether and stitch along the side and across one end. Trim your edges and then turn it right side out. The trick to this is to use a tiny crochet hook, pencil, etc. Take the end you stitched shut and shove it into the tube with your crochet hook. Keep on pushing and before you know it the whole thing will be right side out.
10. Slide the drawstring through the yoke of the romper and stitch each end down in the back. You can leave it like this or create an "x" look. (If you MUST have the straps tied together, put a ribbon around the X or put a matching fabric piece around it. BUT DON'T SEW IT DOWN TO THE STRAPS! You won't be able to put the romper over your baby's head if you do that!
11.Measure the circumference of your baby's thighs and that will decide how much length of elastic to cut for each leg hole. I chose to make a 7 inch opening on each leg hole. To make the legs fold over the bottom twice to make a nice clean edge and then topstitch that elastic down while you are making that hem so you "kill two birds with one stone" so to speak.
12.Cut a strip of fabric about 1" tall and about 1/2" longer on each side of the section where the snaps will go. Fold the short ends in towards the wrong side of the fabric and stitch them down. Pin your fabric right sides together and stitch together. I used snap tape. It's easier to use and it's more comfortable for the baby to wear.
13.Fold your little snap section over twice, so that you have a finished edge and it's in place on the wrong side of the romper. Top stitch it down leaving enough room for some snaps. Add those snaps and you're done!
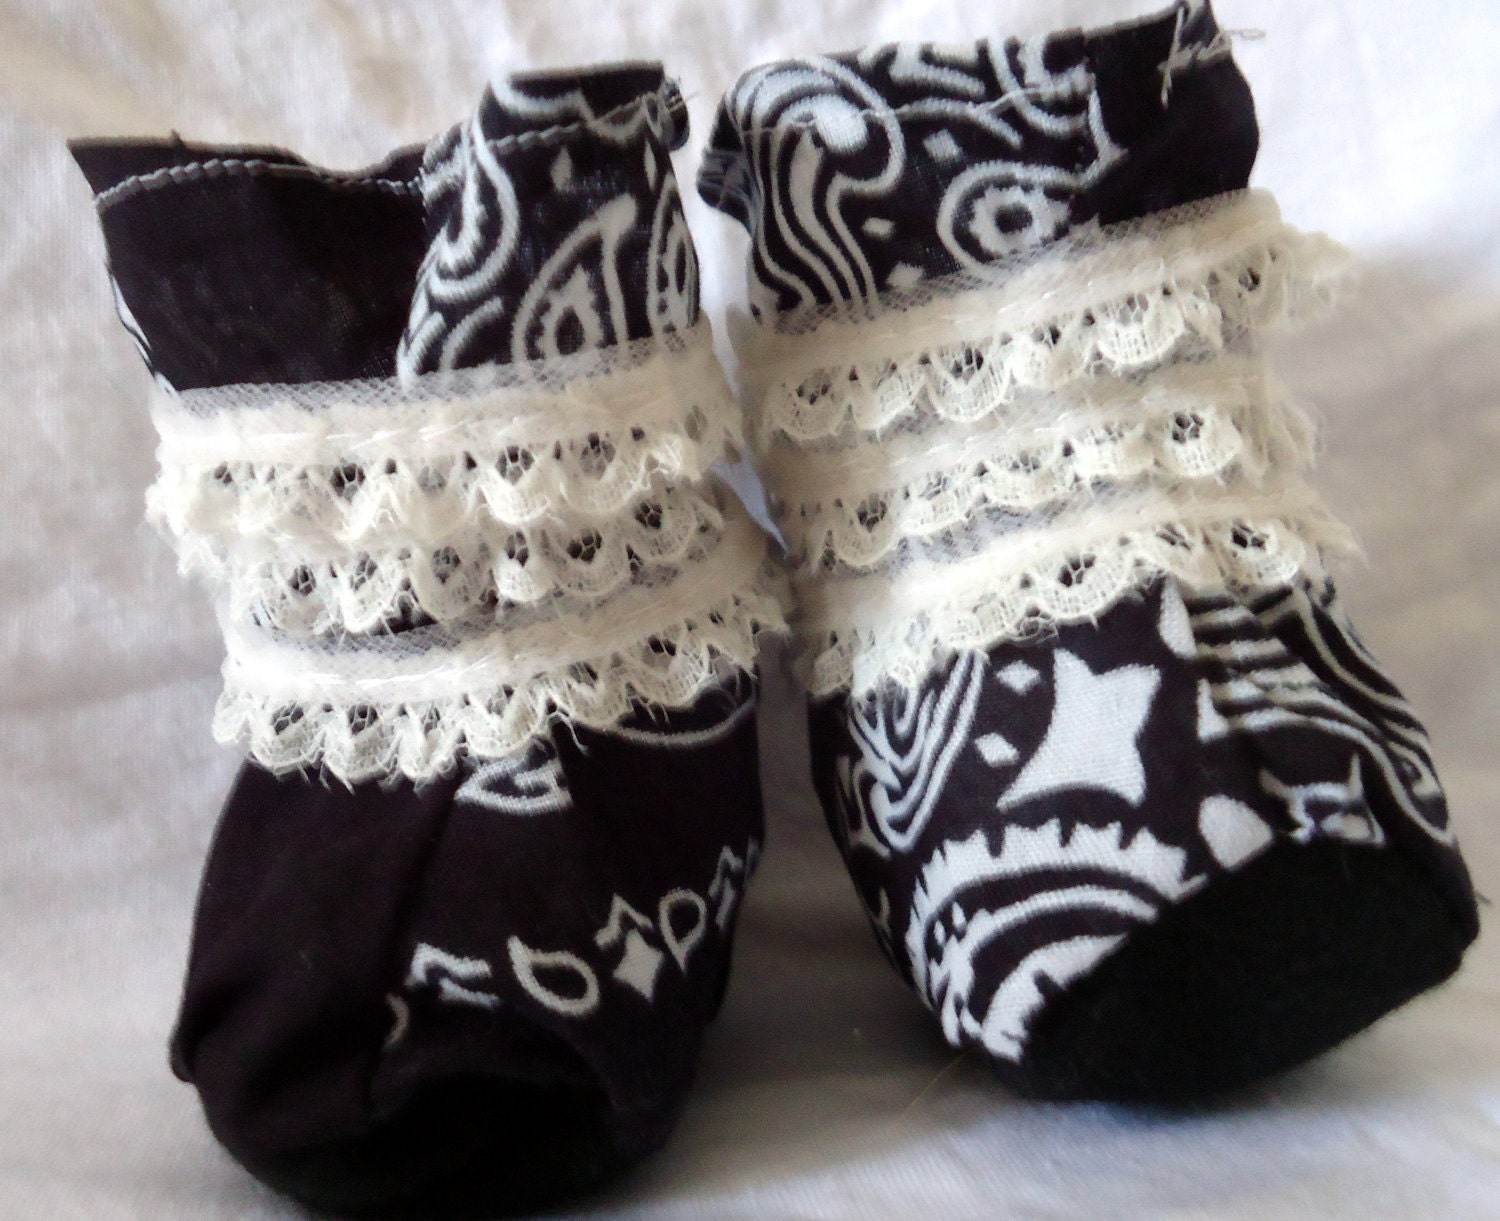
I had some material from the romper left over...just enough to make some adorable booties. Here they are, and of course, you can get them at my Far Out Sprouts shop too!


No comments:
Post a Comment
Commenting makes you more attractive/cuter ;)