Saturday, June 9, 2012

Rocking Your Romper Off (FREE TUTORIAL)

Recently I made a fabulous romper....can't wait to show you! After downloading the pattern I just linked you too, I got to work on making my pattern pieces and this is how I put this sweet little number together. It was quite easy actually.


Materials: (you may need to adjust amounts if you make this in a different size)
  • 1/3 yard fabric for body
  • 1/4 yard fabric for yoke
  • 24" of 1/4" elastic
  • 3 snaps (sew on or hammer on)


1. Sew the yoke together along the neckline (the narrow part!). Press the edges inward.
It will look a little like this.....
2. Fold the yoke in half wrong sides together and then topstitch along the edges and across the neckline. Make sure you leave some space along the neckline for your drawstring and leave the bottom open. (NOTE: I did not choose to put the strap through the drawstring opening at the neckline. I attached two strap at each shoulder and then at the top of the back piece. You can tweak this pattern however you wish.) 
3. Gather the top of the front bottom piece so that it matches up with your yoke. (Never gathered? It's easy- just put in a row of basting stitches and then pull on the loose string ends and the fabric will gather right up).
4.  Pin the yoke to the bottom front piece right sides together. Make sure you only pin the outer half of the yoke- not the liner. Stitch it down making sure to not catch the liner. You should have your romper looking like this by now:
5.Measure your baby (or in my case, my mannequin!) around the chest and measure the front half of the romper. Cut your elastic piece so that it's length + the front half of the romper will fit around your baby. Fold the top of the romper over to the backside and stitch the elastic right on top with a zig zag stitch. The fabric will gather as you go. Make sure you stretch the elastic all the way to the end- you may want to tack it in place or pin it down before you start. The elastic will cover up the raw edge of your romper and do all of the gathering for you.
6.Pin your romper front and back pieces right sides together and stitch up the sides.
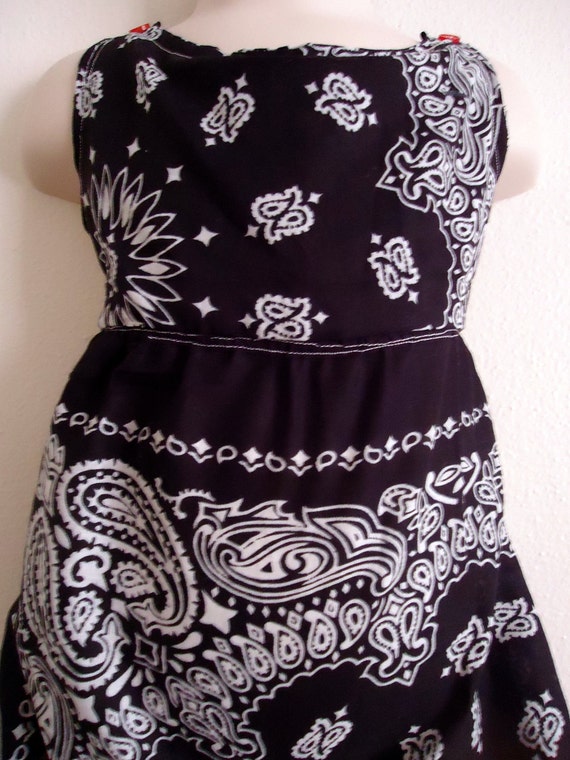
7. To finish the edges in the front fold the bottom edge of the yoke lining up and in so that it covers the edge of your gathered piece. Now flip it over and topstitch along the bottom edge of the yoke.
8. At this point you may want to try it on. Measure around your baby's neck and down the back of the romper to see how long to make your strap. Mine is 10" each strap. Make sure you leave some extra room for the strap to make a little "x" in the back.(DON'T sew down that "X"!  The romper will not fit over your baby's head then!)
9. Cut out matching fabric strips of 3 inch wide by however long you need the strap(s). The length depends on your baby's measurement you took in step 8. It also depends on whether you chose to make a drawstring neckline or have two straps like mine.) Fold it in half right sidestogether and stitch along the side and across one end. Trim your edges and then turn it right side out. The trick to this is to use a tiny crochet hook, pencil, etc. Take the end you stitched shut and shove it into the tube with your crochet hook. Keep on pushing and before you know it the whole thing will be right side out. 
10.  Slide the drawstring through the yoke of the romper and stitch each end down in the back. You can leave it like this or create an "x" look. (If you MUST have the straps tied together, put a ribbon around the X or put a matching fabric piece around it. BUT DON'T SEW IT DOWN TO THE STRAPS! You won't be able to put the romper over your baby's head if you do that!
11.Measure the circumference of your baby's thighs and that will decide how much length of elastic to cut for each leg hole. I chose to make a 7 inch opening on each leg hole. To make the legs fold over the bottom twice to make a nice clean edge and then topstitch that elastic down while you are making that hem so you "kill two birds with one stone" so to speak.
12.Cut a strip of fabric about 1" tall and about 1/2" longer on each side of the section where the snaps will go. Fold the short ends in towards the wrong side of the fabric and stitch them down. Pin your fabric right sides together and stitch together. I used snap tape. It's easier to use and it's more comfortable for the baby to wear.
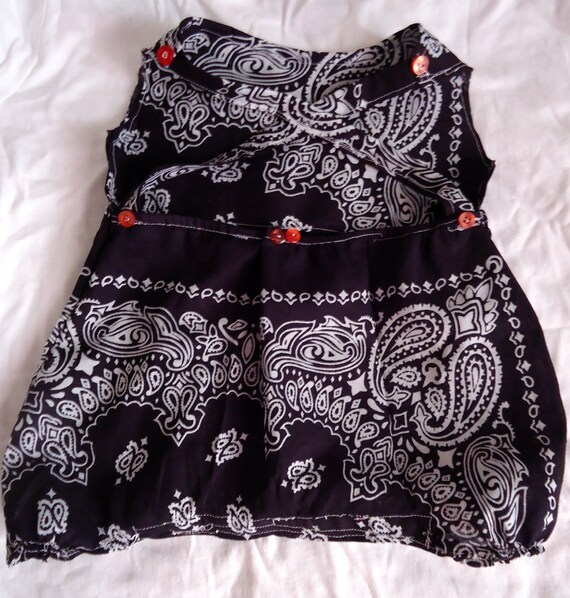
13.Fold your little snap section over twice, so that you have a finished edge and it's in place on the wrong side of the romper. Top stitch it down leaving enough room for some snaps. Add those snaps and you're done!

Here's my creation, which I am selling at my Far Out Sprouts store. There's so many awesome colors of bandanas out there that I just HAD to offer the same romper in 21 different colors! Yea, I kinda feel like Baskin and Robbins. Haha!


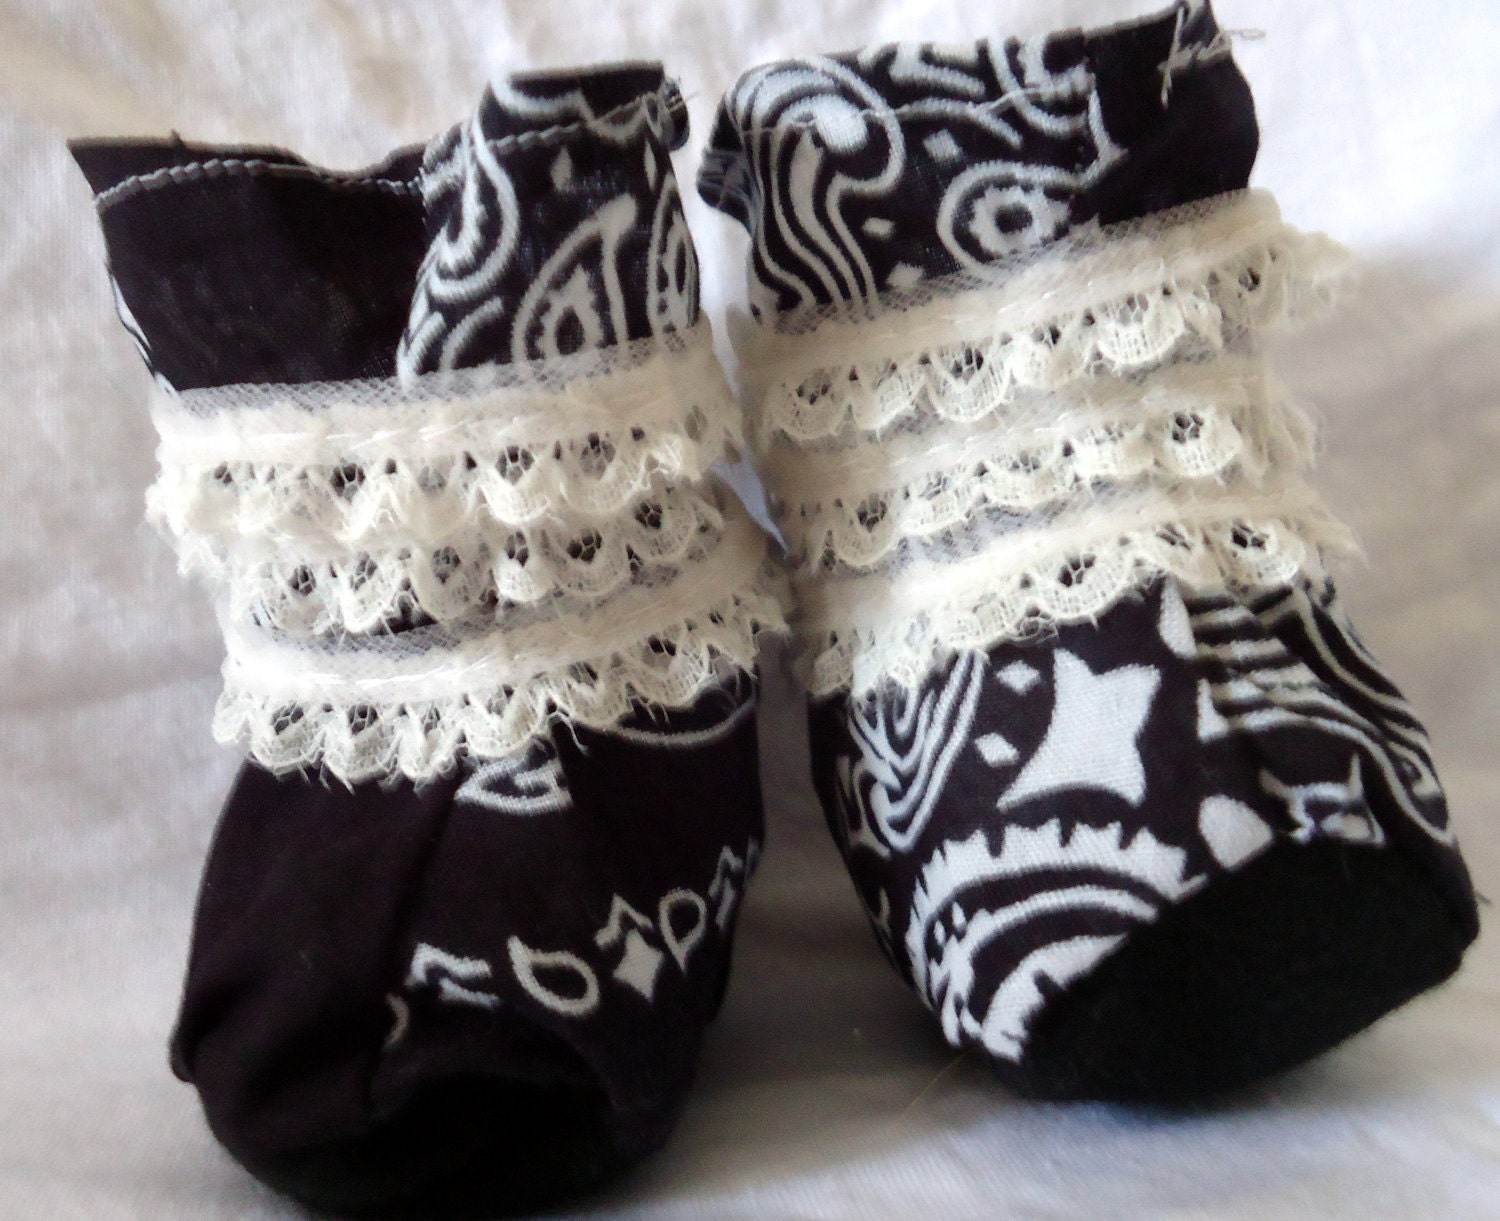
I had some material from the romper left over...just enough to make some adorable booties. Here they are, and of course, you can get them at my Far Out Sprouts shop too!


Friday, June 8, 2012

FUNNY Sewing Pattern And Music Misunderstandings

There's a well versed saying that states, "message sent isn't always message received." Such is the case with baby shoes sewing patterns.

Maybe it's me, maybe it was the pattern. I don't even remember where that stupid pattern is now! Probably threw it out.

I was having a BAD day, I remember. And the shoes were NOT coming out right. My older son, who has Bipolar Disorder, came into my sewing room and took one look at the booties and asked nonchalantly, "what are those mom? Elephant shoes?!" He said it sweetly and with great humor. I couldn't get mad at him. It was kinda funny.

I decided to make fun of myself....I am GREAT at self-depreciating humor. I listed those horrible booties (made of expensive fabric....ARG!!) at my Far Out Sprouts shop complete with absurd pricing and listing details!

Here's a little taste of the pictures of that listing......

Remember, these booties actually fit my 10 year old, the one that called them "elephant shoes." That's how BAD they were!

Hey! When life gives you elephants, make elephant shoes!

On an unrelated, but funny note, sometime music gets lost in translation too......particularly when it comes to different cultures and languages. Don't think I'm being racist. I love all races and cultures! My kids happen to be bi-racial. :D

Here are some VERY funny videos of what I am talking about. I try to mix up the blah sewing stuff with things that appeal to everyone. Ha! Your always welcome. :)


Anyone agree with me that the Benny Lava looks like George Michael???!!!

Even if you don't agree that he looks like George Michael, you HAVE to agree that the Indians were making of fun of Michael Jackson in this one.....


There are SOOOOO many more....but I'll leave you with these gems!

Thursday, June 7, 2012

The Cutest DIY Onesie Tutorial EVER

I am a novice sewer. I taught myself how to sew via YouTube, believe it or not. I have been sewing for a living for a year now. I am still struggling to find a full time job but employment in my field of expertise is few and far between, whereas it was prolific back when I got my college degree. :(

I  finally tackled the giant undertaking of making a onesie. It's a giant undertaking because onesies have to be stretchy (so one has to cut on the fabric bias, taking A LOT more fabric to make one). Cutting on the bias means you cut ACROSS the fabric, no straight up or down....like cutting in an angle. Onesies have to have those crazy fold over necklines. I suck ass when it comes to necklines and arm holes even in the simplest formats! ARG.

I actually made a onesie a human baby can wear though. I am sooooo proud of myself!

I might even be as cool as my sisters, who simply blink and a baby outfit appears in their hands....like some sort of sewing genies!!

I took the pattern from this site.Omi Creates has a very easy tutorial but I think one has to be more experienced to know how to do the neckline and do the binding too.

I didn't have enough knit fabric so I made mine with cotton fabric. I only use quilting quality, the best cotton fabric that costs more of course.

I used white ribbon to bind the neckline too. I just like the appearance. However, I am gonna experiment with other types of binding materials. I haven't found a binding material or technique I am in love with yet! :(

Here are pictures of my little son wearing the onesie I made. It is with monster alphabet printed design. I LOVE it because it has the bright, summer colors in the print while still having a dark background. I just love darker colors on boys because they stain and tear up EVERYTHING!

Enjoy! By the way, you can buy this onesie I made at my Far Out Sprouts Shop.....very affordably priced!


Tuesday, June 5, 2012

Featured Artist 19th Street Creations

If I ever get a house, or live in a place where two or three family members DON'T have to share a room, I want a swing on a big backyard tree. In fact, I want A LOT of trees! I want to be able to spend all of my spare time outside playing with my pets and kids and admiring my roses. I want to see my future husband mowing the lawn. I want to invite my in laws over to sip tea and eat barb-b-que like they do with me already.
It may seem like a pipe dream, but it helps me get through the day many times.

Here's a swing I would definitely get to put on one of my big trees:
By the time I am able to accomplish this dream, I would easily have the grandkids to use that swing! Can you believe that 19th Street Creations sells that very swing for only $50? It's a wonder how they make any profit! Their prices are so awesome, and that's why they are my featured artist.

When my 10 yr old was born, my then husband's church member gave my son a handmade wooden truck. He was extremely old but smart as a whip and quite talented. I still have that wooden truck. It reminds me of  the truck at 19th Street Creations:


I used to make all sorts of wooden crafts, but the lack of money prevented me from continuing to do so. I think I inherited this talent from my late dad. He was one of the best carpenters ever!

Speaking of which, I am still contemplating who I will get to walk me down the isle at my wedding. Since my dad is no longer alive, and I don't have sons who can do it, I suppose I may put out a Craigslist ad for a 60ish yr old man to do it or maybe I can make baby clothes for an older gentleman and instead of paying me, he could provide his "fatherly services" at my wedding....ha! Seriously, I will probably just walk down the isle by myself. I am used to doing most things in my life all by myself. :)

Check out 19th Street Creations! I simply can't believe their talent and prices!

Monday, June 4, 2012

Here In Texas Everything Is Bigger Even Our Storms (VIDEO)

Texans can brag about many things other states simply can't hold a candle to. One of those things are fierce, violent thunderstorms. My mom used to call these storms "turd floaters" because we also have a lot of cows in Texas. I call them "oh shit look at this! Now my boyfriend can stay longer!" This is because the storm below (happened about a week ago) hit us at night right before he was about to return home. Of course, with dime size hail, he couldn't get out in it, so he was a "prisoner" for a short while! :)

Just take a look!


Yes, we were under a tornado watch and the SUSTAINED wind speed was 60 miles an hour....for 30 minutes!! 

Sunday, June 3, 2012

Featuring Handmade Fuzzy Where The Unusual Can Be Crochet!


I plan to feature artists who catch my eye and have a bit something unique and unusual to offer consumers on the Internet.

Today, it's Handmade Fuzzy. Talk about all thing unexpected! This is definitely NOT your grandma's crochet! I would never have considered having a crochet stethoscope cozie.....but it makes sense because those darn things can be cold and uncomfortable to wear....I used to be in the medical field.

One would most certainly be the cool cat of the hospital sporting one of those!

This little number would be PERFECT for the upcoming holidays.....


For some reason, this media cozy cracked me up.....probably because my 18 yr old busted my new $400 Android by dropping it on the cement just because a stupid beetle got close to her and it scared her. (enter a scary face of anger here)

It kinda reminds me of a baby sock.....but maybe that's because I make baby items for a living :)

You can get all these item and more at her shop, Handmade Fuzzy.


Saturday, June 2, 2012

My Oompah Loompah Refrigerator

Rich people like the one below have no clue what's it's like to live in a small, cramped apartment with a bunch of kids.


With that said, some of us have to overcome considerable odds, like unemployment, your children going to jail, your children being disabled, your cat getting fleas, and ah! Alas! Having an Oompah Loompah refrigerator! Yes, I have an incredibly small refrigerator even the college dorms would laugh hysterically at. :( I am not sure why my apartment complex thought it was a good idea to put such a ridiculously small refrigerator in an apartment designed for families (having more than 1 bedroom). However, such is the case for me.

My boyfriend is a very generous person. He loves to buy groceries whenever he is out getting things for his own place. We are always happy to receive whatever he drags over. My kids usually gobble up everything before it even manages to get in the refrigerator! It's a good thing.....because one day I happened to have  gone to the store to get groceries......unexpectantly, my boyfriend did the same and brought over a bunch of food....

Oompah Loompah refrigerators don't hold more than 3 or 4 days worth of food. Now I had the challenge of trying to get a weeks worth of food in it to no avail! Yikes!

But, being the resourceful person that I am, I whipped out the duct tape.....NO, not for a child, but for the ole' frig.....
There! Now we can go back to singing that annoying song that gets stuck in your head FOREVER!


My fiance and me

My boys